
Affiliate disclosure: Plugin Parents is reader-supported. Some links go to Amazon and other retailers, and as an Amazon Associate we earn from qualifying purchases at no extra cost to you. Read our full disclosure.
Owner-Tested in Our Model Y
The Model Y’s anchors are all there, they’re just not always obvious. Here’s exactly where they are, how to use each one, and a few things we learned installing three different seats in ours.
Where the anchors are
- Lower LATCH anchors: only in the two outboard second-row seats, reached in the crease between the seat cushion and the seatback. They sit deeper than in a lot of cars, so expect to dig for them the first time.
- Center rear seat: no lower anchors. Anything installed here goes in with the seat belt.
- Top tether anchors: all three rear seating positions have one, on the back of the seatback. Use it for every forward-facing install, LATCH or belt, it’s not optional. In the center seat, Tesla says to route the tether strap over the head support, not under it, and not to raise the head support.
One rule that trips people up: don’t combine LATCH and the seat belt in the same position unless your car seat’s manual says you can. Pick one method and use it fully.
Tesla also sets a weight limit for the lower anchors: don’t use them once the child plus the car seat weigh more than 65 lb combined. Past that, install with the seat belt instead. Both points are in Tesla’s Model Y owner’s manual.
Installing with LATCH
- Locate the two lower anchors in the seat crease at an outboard position. Push aside the seat cushion fabric if you can’t feel them right away.
- Clip the seat’s LATCH connectors onto the anchors. Both rigid connectors (built into the seat) and flexible strap connectors work here; with strap connectors, keep the strap flat and untwisted while you tighten.
- Push down on the seat while tightening, then pull the strap (or push the rigid connectors in) until the seat barely moves.
- For a forward-facing seat, attach the top tether to the anchor on the back of the seatback and remove the slack.
- Do a final tug test at the belt path: less than an inch of movement side to side and front to back.
Installing with the seat belt
- Route the seat belt through the seat’s belt path exactly as its manual shows.
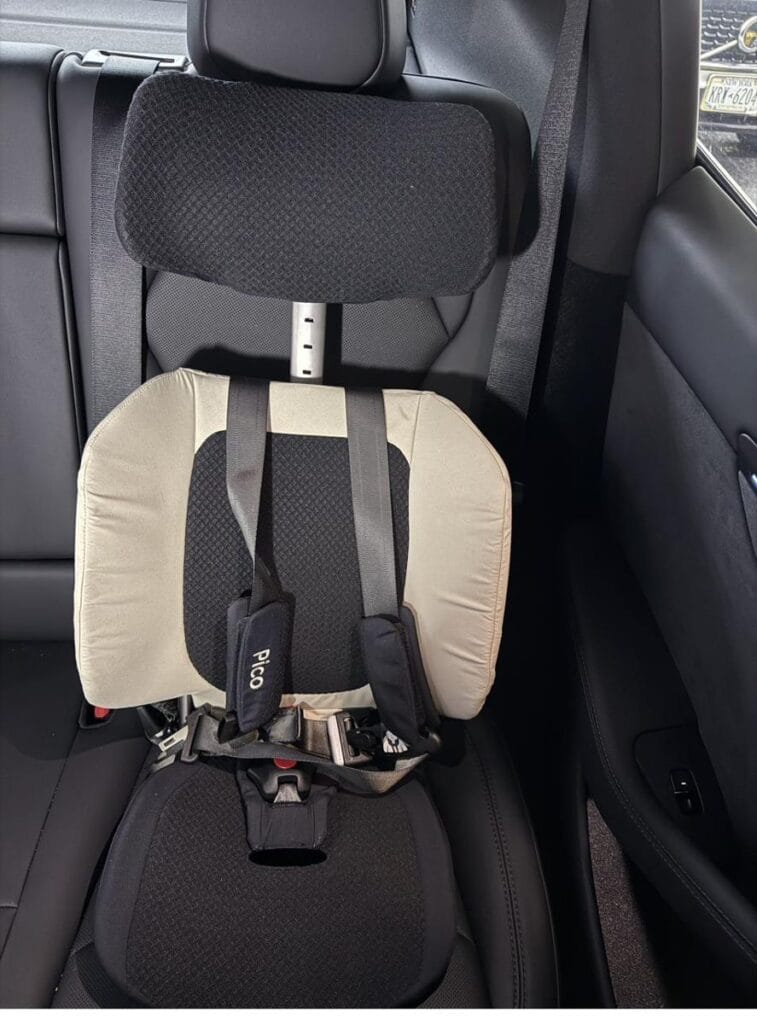
- Buckle it, then pull the shoulder belt all the way out until you hear the automatic locking retractor engage, then let it retract. This is what actually locks the belt in place in a Tesla; without it, the belt won’t hold the seat tight.
- Push down on the car seat while removing slack from the belt.
- For a forward-facing seat, attach the top tether the same way as a LATCH install.
- Tug test at the belt path the same way: less than an inch of movement.
A booster is its own case: the child is held by the car’s adult seat belt, not by LATCH. Some boosters, including the Nuna Aace we use, also have lower-anchor connectors, but those only hold the booster in place when it’s empty (so it doesn’t become a projectile) and, on the Aace, enable its recline. Follow your booster’s manual and the Model Y owner’s manual for whether and how to use them in your seating position.
What we actually used
Common mistakes
- Skipping the seat belt lock. If a belt-installed seat feels loose no matter how hard you pull, the retractor probably never locked. Unbuckle, let the belt fully retract, then pull it all the way out before buckling again.
- Trying to LATCH the center seat. There’s no lower anchor there. If you need three seats across, the two outboard positions get LATCH and the center gets the belt.
- Forgetting the top tether. It’s easy to miss since it’s tucked on the back of the seatback, but it’s required for every forward-facing install.
- Mixing LATCH and the seat belt. Use one method, not both, in the same seating position, unless your car seat’s manual specifically allows it.
Frequently asked questions
Does the Tesla Model Y have a normal LATCH system?
Mostly. The two outboard rear seats have full lower-anchor-and-tether LATCH, but the anchors sit unusually deep. The center rear position only has a tether anchor and must be installed with the seat belt.
Can I install a car seat in the front seat?
No. Tesla’s manual says never to seat a child in the front passenger seat, even in a child safety seat, because of the airbag. Children should ride in the back regardless of seat type.
Do I need the top tether if I’m using LATCH?
Yes, for any forward-facing seat. The lower anchors and the top tether do different jobs, and both are required together.
Related guides
WAYB Pico in a Tesla Model Y · Best car seats for a Tesla Model Y · Car seats for the Model Y L’s third row · Will It Fit? finder · Start Here